The explanation we do is for linux Elementary OS but it is valid for any operating system, only changing the syntax of the copy, delete, etc. commands.
Very important, before updating we strongly recommend to make a backup of our current WordPress.
At the end of the next post it is explained how to make a WordPress backup and how to restore it if necessary.
We download WordPress and unzip it. The WordPress that we download is independent of the operating system we use and is valid for any operating system.
We choose download and install to download it.
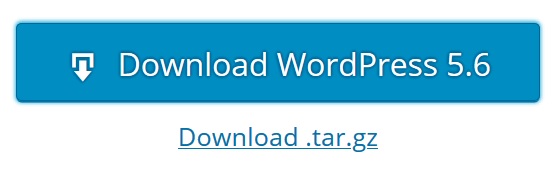
If we click on Download WordPress xx we download the compressed version in zip format, if we click on Download.tar.gz we download the compressed version in tar.gz format, either of the two is valid for all operating systems, in this post we will do it with Download.tar.gz which is more linux like.
After downloading we will have the file wordpres-x.x.tar.gz in /home/UserName/Downloads
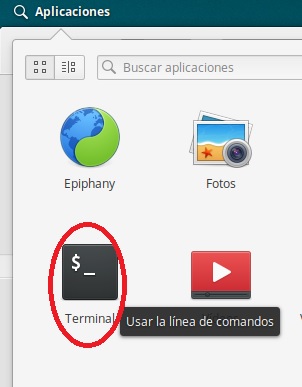
Now we open a terminal
from the terminal window we execute:
sudo tar -xf wordpres-x.x.tar.gz /opt/lampp/htdocs
In the path where we have unzipped the package, a directory called wordpress will be created.
We will change the owner of this directory and its content to our user, where UserName is the user we have logged in with the command
We will give write permissions to the WordPress directory group. This is because WordPress needs to write configuration files, install plugins, upload content, update itself, etc.
sudo chmod -R g+w /opt/lampp/htdocs/wordpress/
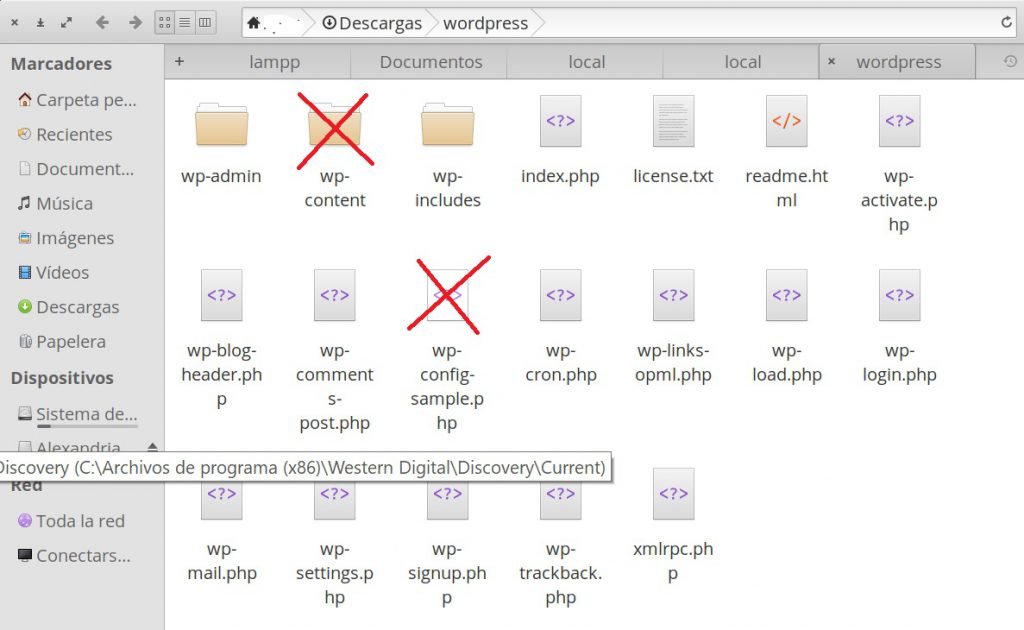
We can see now the folder
From the folders that we obtain we delete wp-content because we will not need it because we will keep the one we had that contains our current WordPress site.
Now we copy all the files that we unzipped in the folder except wp-config-sample.php that we had deleted replacing the files of our old WordPress installation
Now is time to install WorPress to manage our website in a simple and efficient way.
The first thing we will do is create the database that WordPress needs to work.
Before installing WordPress either a new installation or to migrate a WordPress installation to our web server, we need to create a new database.
Initially we will do a fresh installation, but at the end of this post we will explain how to make and restore WordPress backups.
Restoring the backup (no matter what operating system it resides on) is the procedure that will be used to migrate a previous WordPress installation to our new web server.
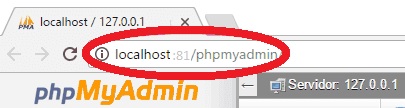
For that we are going to use phpMyAdmin, which is the tool that manages the MySQL databases from our Xampp server.
We write in the navigation bar of our browser
localhost:81/phpmyadmin
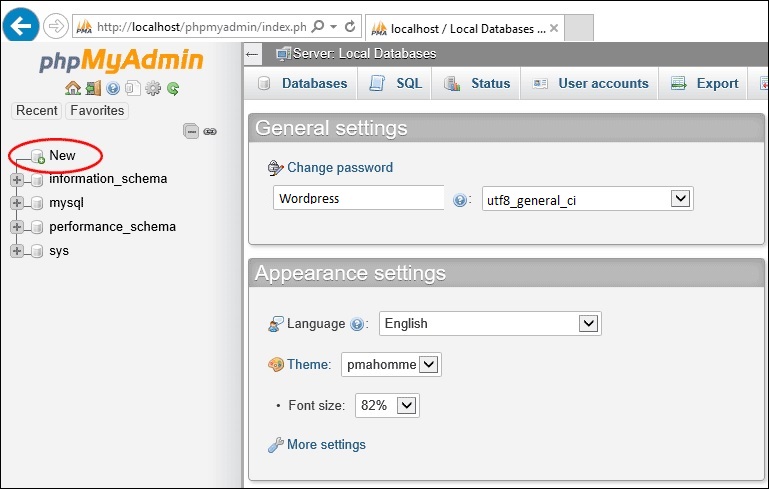
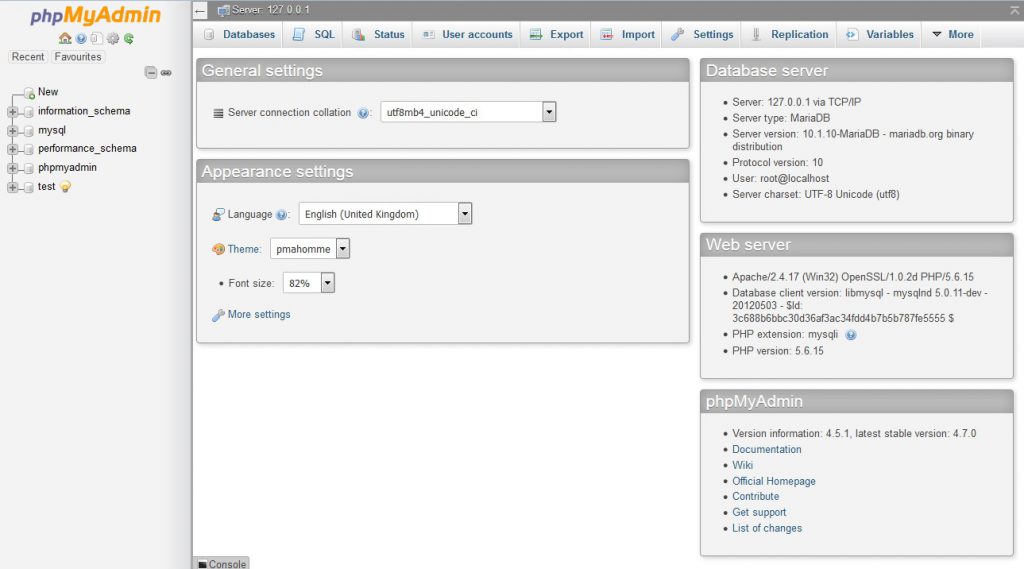
When accessing the phpMyAdmin database manager on the left side you will see the databases that are created by default on the server.
We click on New.
In the right part we write the name of the database, for example wordpress (*) and we choose the option utf8_general_ci.
We click on the Create button.
(*) If we are going to migrate a previous installation, we will give it the same name that the database had in the previous installation.
Now in the section on the left you will have your new database created.
This will be the database that WordPress will use.
The user to manage it is root, which is the main user that MySQL creates, and by default the root user does not have any password.
Once we have the new database created to install WordPress, the first thing we have to do is download the .zip file with the latest version of WordPress from the official WordPress page.
If we click on Download WordPress xx we download the compressed version in zip format, if we click on Download.tar.gz we download the compressed version in tar.gz format, either of the two is valid for all operating systems, in this post we will do it with Download.tar.gz which is more linux like.
After downloading we will have the file wordpres-x.x.tar.gz in /home/UserName/Downloads
Now we open a terminal
from the terminal window we execute:
sudo tar -xf wordpres-x.x.tar.gz /opt/lampp/htdocs
In the path where we have unzipped the package, a directory called wordpress will be created.
We will change the owner of this directory and its content to our user, where UserName is the user we have logged in with the command
We will give write permissions to the WordPress directory group. This is because WordPress needs to write configuration files, install plugins, upload content, update itself, etc.
sudo chmod -R g+w /opt/lampp/htdocs/wordpress/
Now we write in the navigation bar of our browser
http://localhost:81/wordpress/
«wordpress» is the folder that we just created.
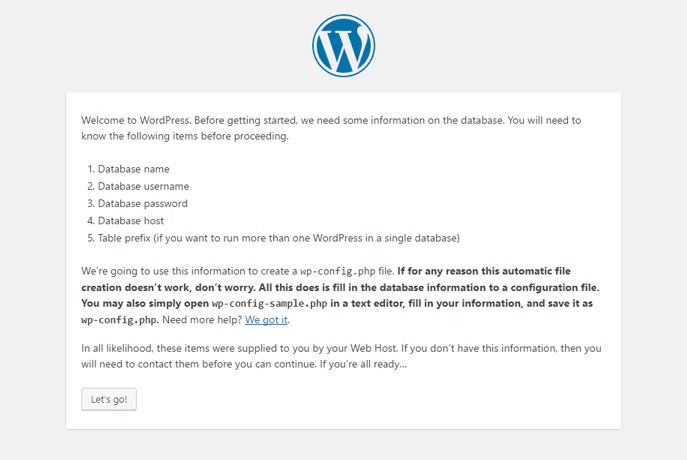
That will automatically take you to the welcome screen to begin the installation and configuration of WordPress.
We click let’s go!
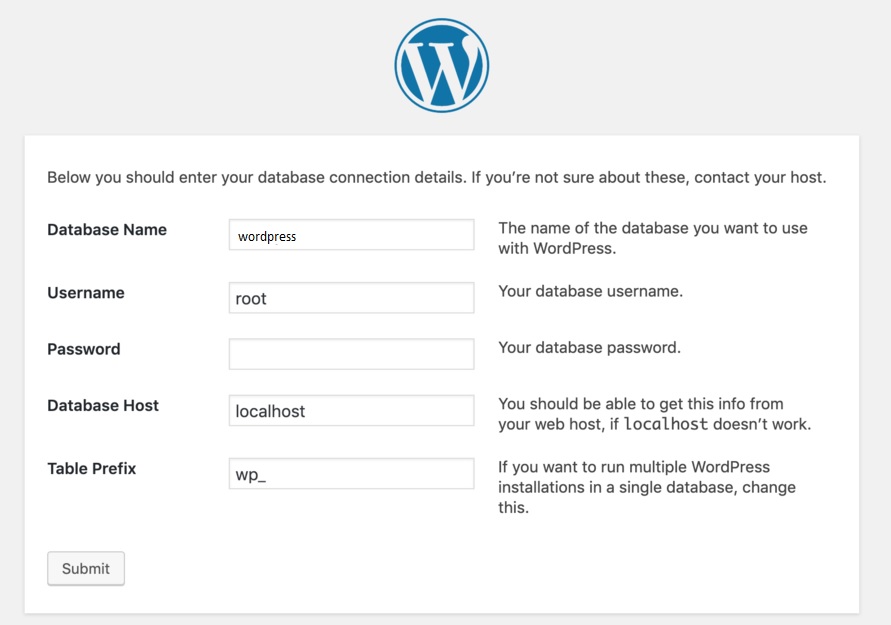
click submit
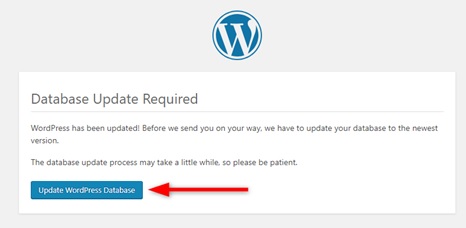
Click on the Run the install button.
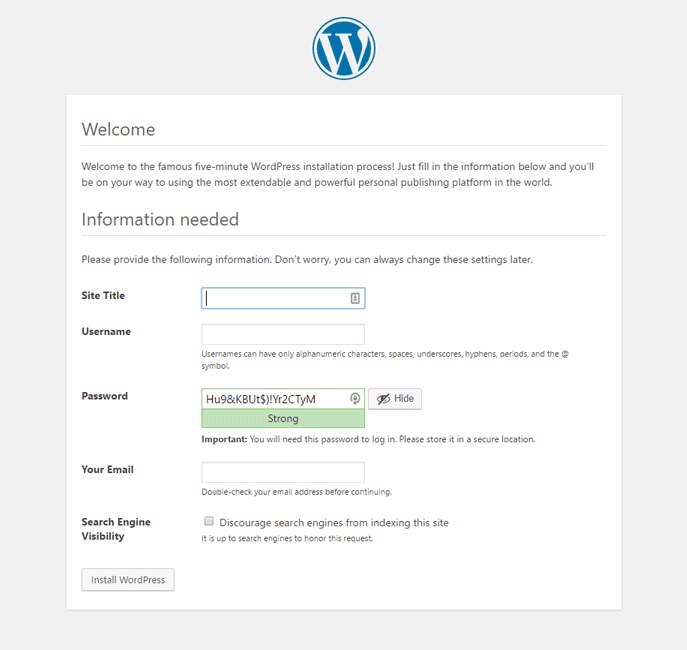
Here you have to fill in the data for the WordPress installation, such as the title of your new site, the name of the user you want to create to manage it, your password, email.
You can select the option Discourage search engines from indexing this site if you want, but then your WordPress will be ignored by Google and other search engines, (not recommended).
Then click Install WordPress.
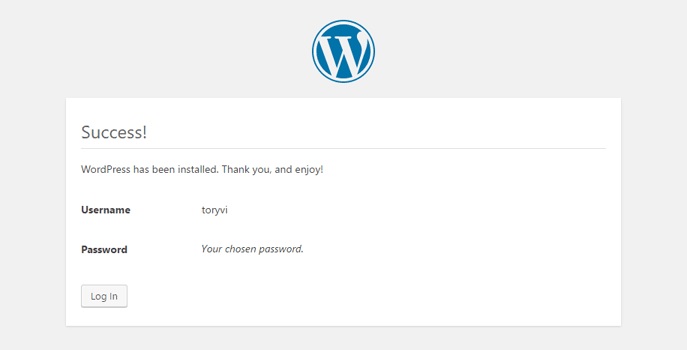
If everything has gone well you will see a message like this in which it tells you that WordPress has been installed correctly.
Now you can click the Login button to go to the login window of your WordPress.
Use the username and password you chose earlier. Click the Login button and you will enter your new WordPress dashboard.
( Important: In order you can access to your WordPress site typing in the navigation bar of our browser http://HomeServer.ddns.net/wordpress , you should previously go to http://localhost:81/wordpress/wp-admin and then to Settings, General Settings and type as WordPress address (URL) and Site address (URL) http://HomeServer.ddns.net:81/wordpress ).
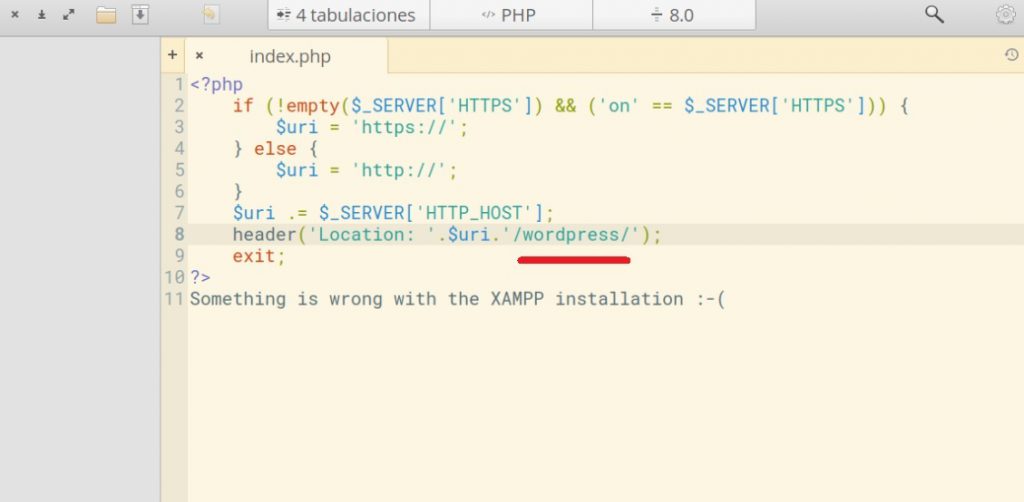
Finally, if we want WordPress to be the main home page of your site and that when anyone who writes in the navigation bar of their browser http://HomeServer.ddns.net (or the name that yow have given to your site) or localhost:81 from the Xampp server locally will access to your WordPress site directly.
We will open a terminal and type in the command line:
The editor code will then be opened as superuser and in the index.php file we will change dashboard to wordpress and save
WordPress is already the main home page of our site.
Finally I will explain how to make and restore WordPress backups.
Remember that restoring the backup (no matter what operating system it resides on) is the procedure that will be used to migrate a previous WordPress installation to our web server.
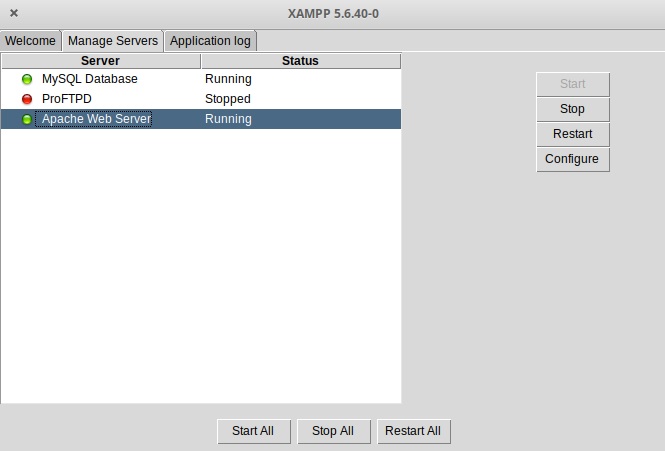
To make the backup in the Xammp control panel we will stop Apache Web Server but we will not stop MySql Database.
We will copy the complete wordpress directory to the place where we are going to make the backup, for example, we open a terminal window and type
To restore the database (Previously, if the database does not exist, we will create it as we saw at the beginning of this post, we type in our browser localhost: 81/phpmyadmin … and we create it) and then from the terminal window we type
Remote Desktop Protocol (RDP) is not compatible with Pantheon, the Elementary OS desktop, so for now we have to ignore RDP to establish a remote control system over a system based on Elementary OS.
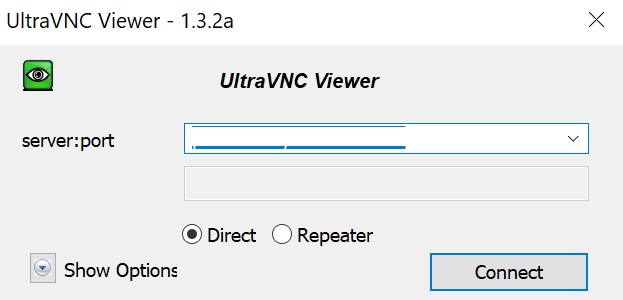
However, Virtual Network Computing (VNC) does work perfectly with Pantheon, so we are going to choose VNC for our remote control.
The VNC server is the program on your computer that shares your screen. The server passively allows the client to take control of it.
The VNC client is the program that monitors, controls and interacts with the server. The client controls the server.
Regarding VNC there are several solutions, some are free and others are not, such as Real VNC, in which the server part is not free and only the client is free with certain limitations, it also implies having to register and provides few advantages over other solutions.
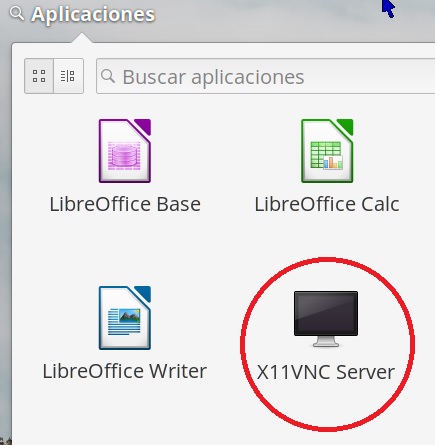
As a VNC server we have chosen X11VNC, which is robust, simple and free.
We install it with the following commands by openning a command window:
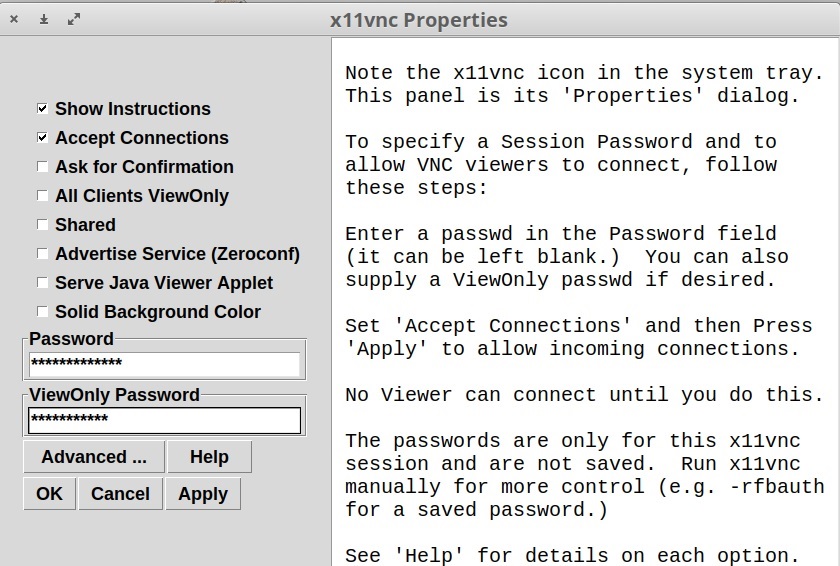
Ok is already installed, now we are going to configure it
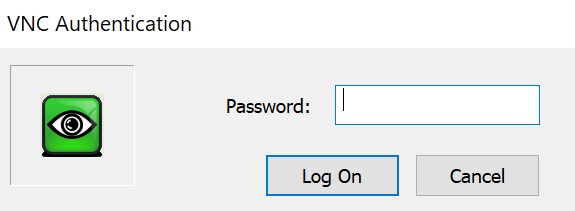
First we establish the password to access from the client.
x11vnc -storepasswd

Enter VNC password: *********
Verify password: *********
Write password to /home/user/.vnc/passwd?  [y]/n y
Password written to: /home/user/.vnc/passwd
The VNC server will start on default port 5900. In case the port 5900 is busy with some other service, it will automatically select the next available port like 5901.
If we want to establish another port we will do it with the parameter -rfbport portNumber
For example we can start the server from the command line:
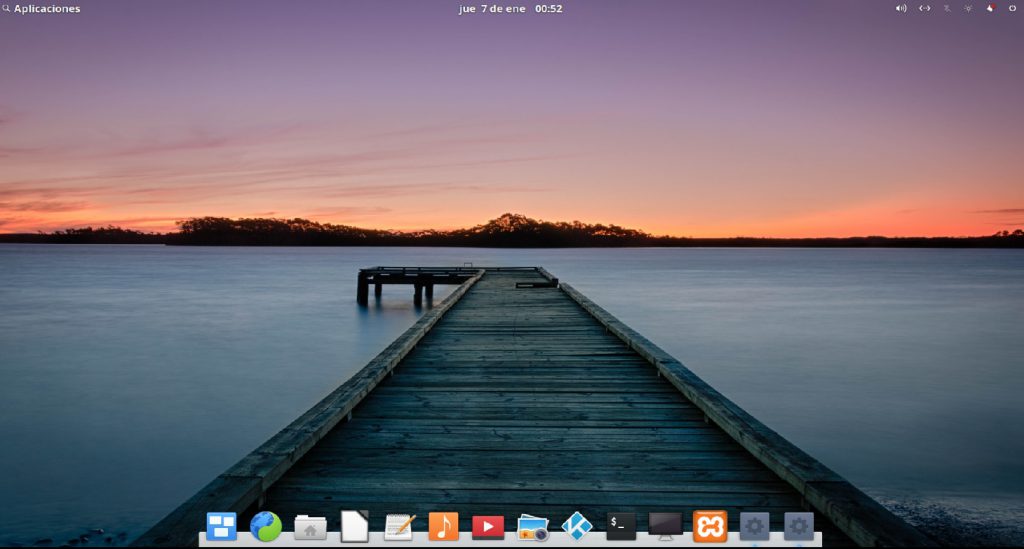
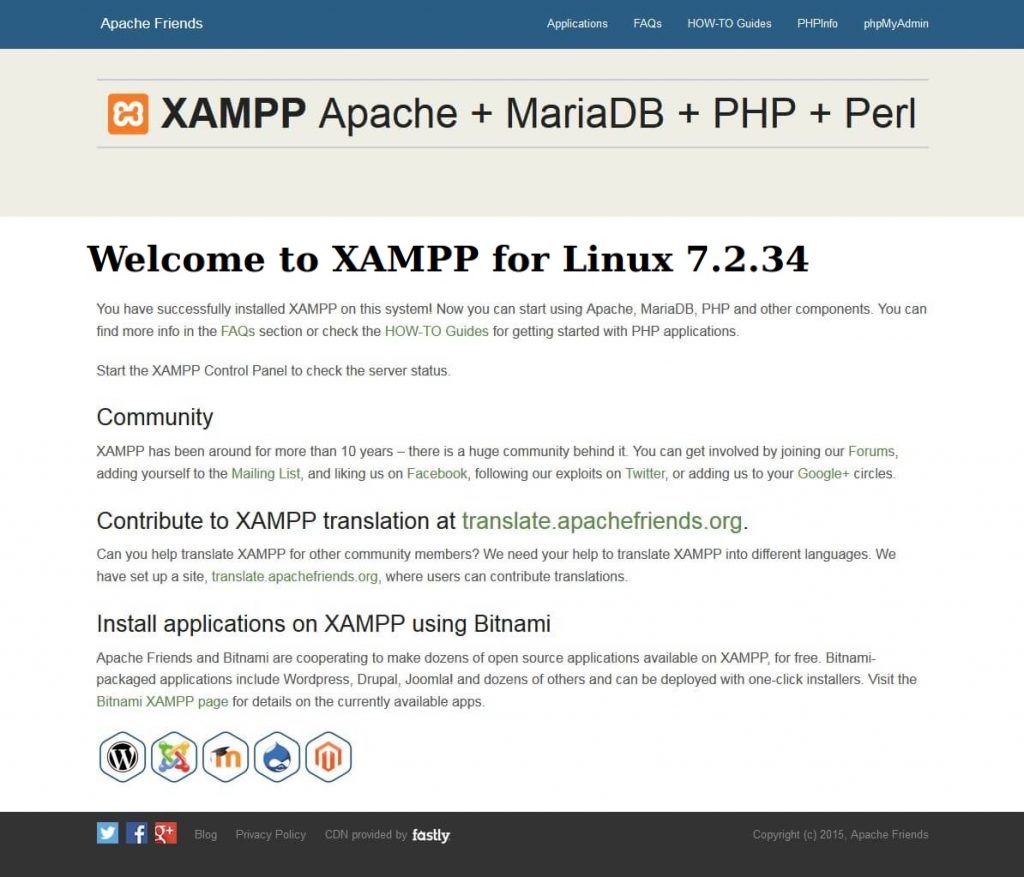
In a previous article we have installed Xampp on Elementary OS and we could already see from our local network the default main page of the server by typing in the navigation bar of our browser http://localhost
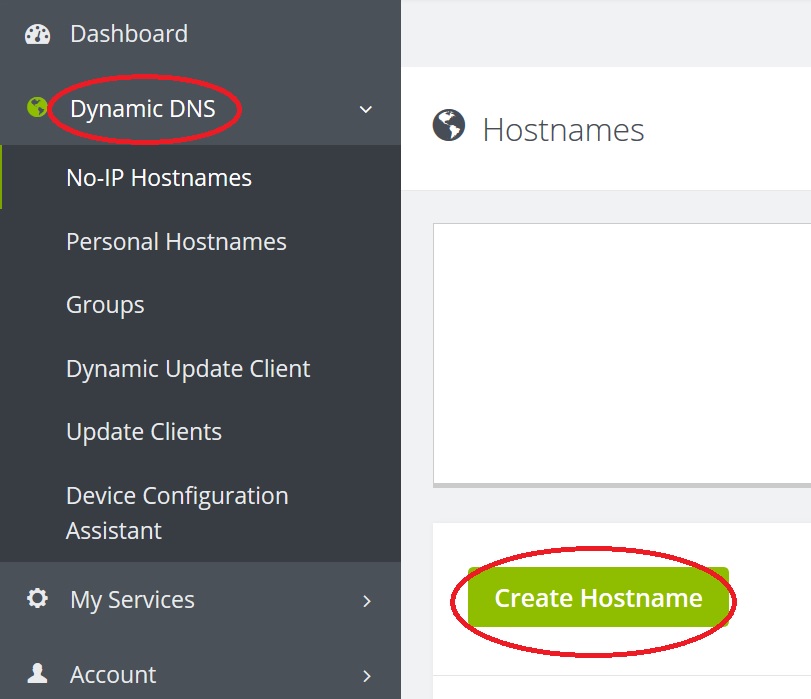
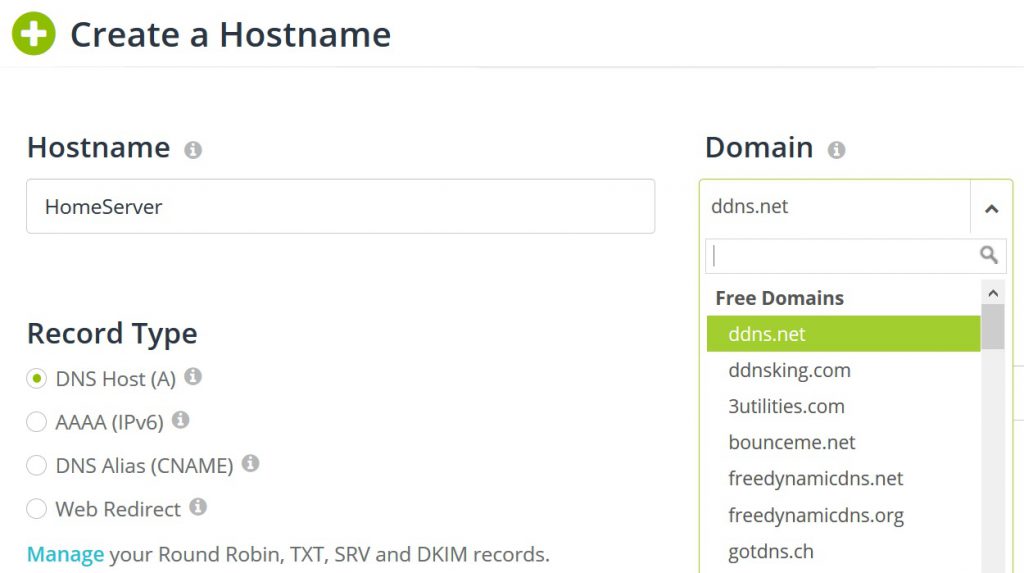
Once registered on the NoIP page, we will display DynamicDNS and click on Create Hostname
We fill in the form with the domain name and subdomain that we prefer, the only restriction is that it is not previously registered, NoIP will inform us about it if necessary
Congratulations, we have our subdomain created, for example HomeServer.ddns.net where HomeServer is the subdomain and ddns.net is the domain.
Our home Internet Services Provider (ISP) generally provide us with dynamic external IP.
This external IP is the IP that the provider assigns to our router with which we reach the internet.
Dynamic external IP means that it is not always the same, our external IP changes, for example when we turn off and on the router.
NoIP needs to know our external IP continuously so that the DNS service can assign it to our new domain, in our example HomeServer.ddns.net or the name you have chosen.
For example: HomeServer.ddns.net could refer to the external IP 83.88.18.23
For this, NoIP provides us with the DUC client that constantly notifies to NoIP our external IP, in our example 83.88.18.23 and when it changes, DUC notifies NoIP.
this works for both Ubuntu and Elementary OS that derives from Ubuntu
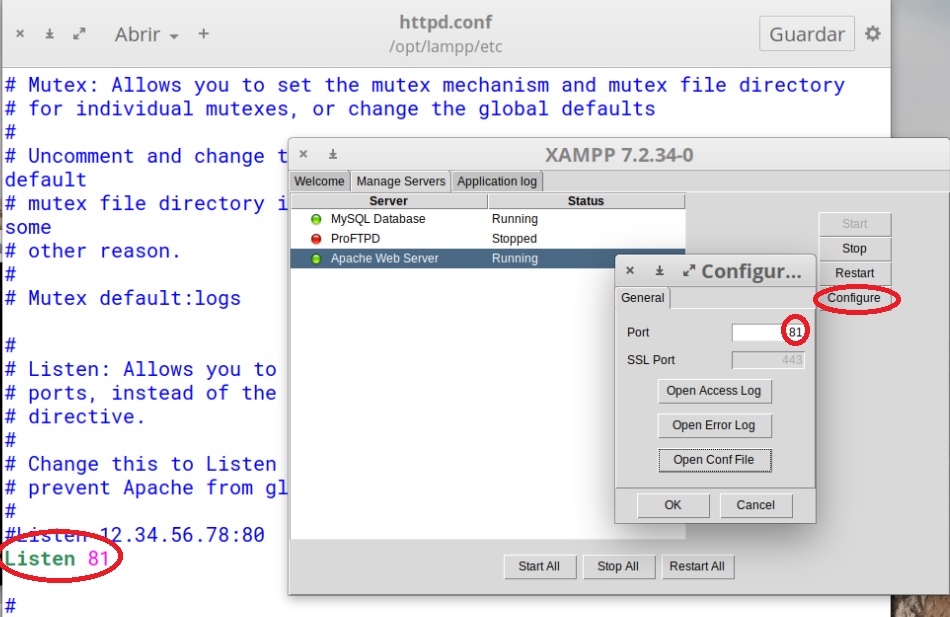
Once we have solved with DUC the fact that our external IP is dynamic, we face another problem, that most Internet providers ISP reserve port 80, which is the port on which the Apache server that we have installed with Xampp listens by default.
There is no major problem either, we will change the port on which Apache listens as follows, in the Xampp Control Panel we click on configure and change port 80 to 81 for example, or if you prefer we can also edit the file /opt/lamp/etc/httpd .conf whith an editor as administrator, for example with the command
sudo io.elementary.code
and then open from the editor the file /opt/lamp/etc/httpd.conf
In any of these ways, we change port 80 to 81, now with the Stop button we stop Apache Web Server and with the Restart button we restart it on port 81.
Well this is almost done, we are just missing a couple of things.
We have to open ports 80 and 81 in our router and direct the traffic that comes to port 80 to 81, let me explain if someone from the internet writes on the navigation bar of their browser HomeServer.ddns.net goes to the http port by default 80 from our brand new server.
To go to port 81 you must type HomeServer.ddns.net:81.
To avoid that visitors to our portal the annoyance to write: 81 we redirect the traffic coming from the default port 80 to 81 on our router.
To do this we write in the navigation bar of the browser the internal IP of our router, in my case 192.168.1.1 (it is the gateway of my network, because the IP address of my server is 192.168.1.95 the IP address of my router will be 192.168.1.1)
The internal IP address of your router by default is written on a sticker attached to your router and also the password to access.
Once in your router, this varies according to models and providers we enter the configuration menu ports generally in the menu option NAT (Network Address Translator) and here we open ports 80 and 81 and redirect port 80 to 81, on my router it looks like this:
192.168.1.95 is the internal IP address of my internet Xampp server
Now we type from outside our network in the navigation bar of the browser HomeServer.ddns.net
When I say from outside, I mean without being connected to the home network or WiFi, for example with the mobile phone using 4G or 5G not connected to our home WiFi or from a friend’s house.
The home page of our internet server must be displayed on the browser.
If we cannot access to our server now from outside, it is because the ports in the Elementary OS firewall are closed.
In case that we cannot access to our server, we will open ports 80 and 81 with the command:
sudo ufw allow 80: 81 / tcp
If ufw is not installed in our Elemetary OS, we install it with the following commands:
sudo apt update
sudo apt upgrade
sudo apt-get install ufw
sudo apt install ufw
and now we run again the command
sudo ufw allow 80: 81 / tcp
We then write again from outside our network in the navigation bar of the browser HomeServer.ddns.net and voila we can see the home page of our server from internet.
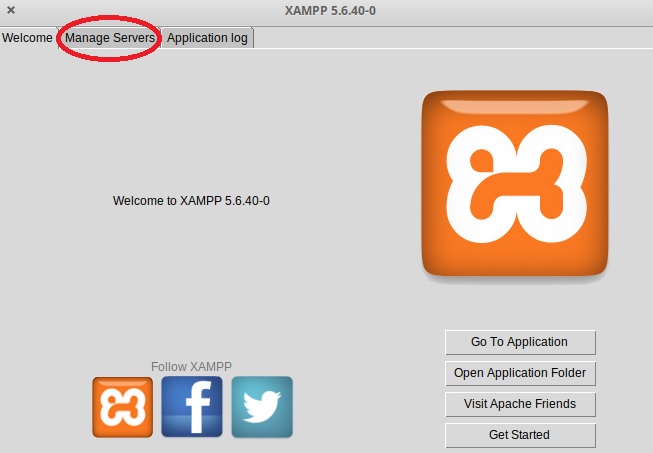
After installing Xampp in Elementary OS to launch the Xampp Control Panel we must open a terminal window
and run the command
sudo /opt/lampp/manager-linux-x64.run
sudo will ask us for the user’s password and after entering it the Xampp Control Panel window will appear
sudo vim /usr/share/applications/Xampp.desktop
The problem happens if for convenience we want to add the Xampp Control Panel to the Elementary OS Applications menu to be able to launch it without executing any command in the terminal.
In order to add an installed program to this menu, we must create the file with the extension ‘.desktop’ in the following folder: /usr/share/applications
To do that we will create the Xampp.desktop file with any text editor for example:
vim sudo vim /usr/share/applications/Xampp.desktop
inside the file we include the following text:
[Desktop Entry] Version=1.0 Type=Application Terminal=false Icon=/opt/lampp/htdocs/favicon.ico Name=XAMPP Exec=sudo /opt/lampp/manager-linux-x64.run Comment[en_US]=Start XAMPP Control Panel Name=XAMPP Comment=Start XAMPP Control Panel
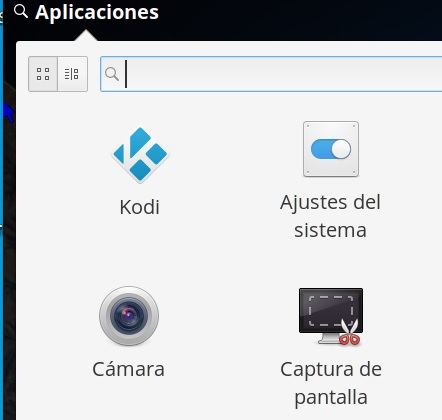
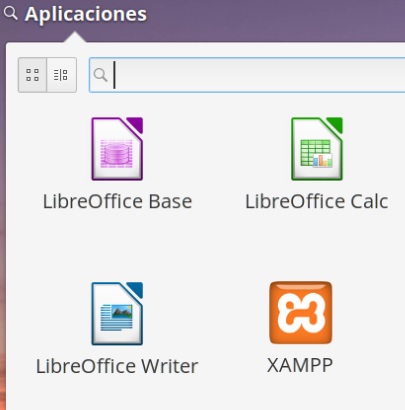
Now if we display the applications menu, the Xampp Control Panel appears
But when we click on the Xampp Control Panel it does not get started
The problem is that when launching it from applications we cannot provide the password to sudo so in the end it does not get started
The simplest solution is to prevent sudo from asking for a password, so we execute it from a terminal
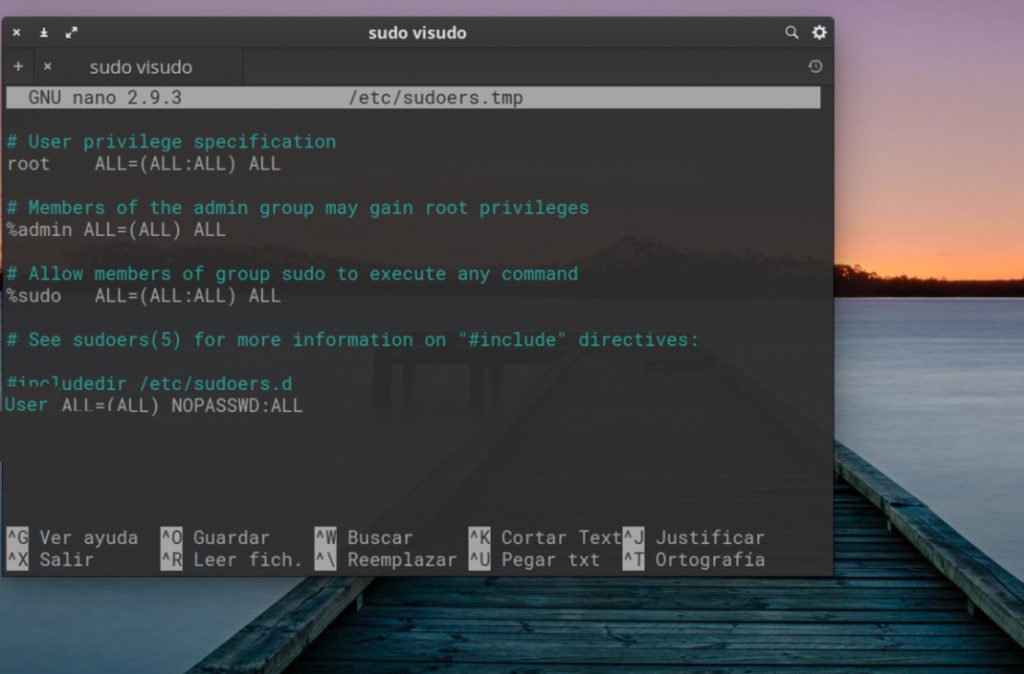
sudo visudo
This sentence will open a configuration document for the «sudo» command.
We must go to the end of the document and as the last line add this one.
username ALL = (ALL) NOPASSWD: ALL
as «username» we write the username with which we have logged in Elementary OS and then we save
Now to the user specified sudo will no longer ask for a password and if we now click on the Applications menu on the Xampp Control Panel it will start up without any problem.