
The explanation we do is for linux Elementary OS but it is valid for any operating system, only changing the syntax of the copy, delete, etc. commands.
Very important, before updating we strongly recommend to make a backup of our current WordPress.
At the end of the next post it is explained how to make a WordPress backup and how to restore it if necessary.
The update can be done automatically from WordPress but my experience is that very frequently it fails and it is necessary to do a manual update.
But no problem because this is not difficult.
The first thing to do is download the .zip file with the latest version of WordPress from the official WordPress page.
We download WordPress and unzip it. The WordPress that we download is independent of the operating system we use and is valid for any operating system.
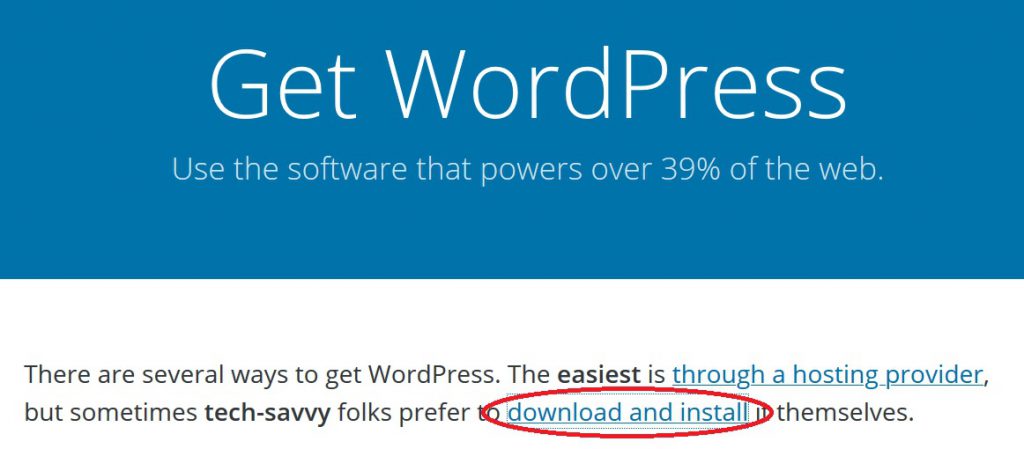
We choose download and install to download it.
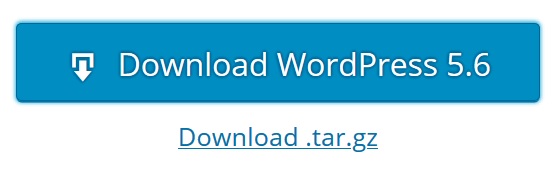
If we click on Download WordPress xx we download the compressed version in zip format, if we click on Download.tar.gz we download the compressed version in tar.gz format, either of the two is valid for all operating systems, in this post we will do it with Download.tar.gz which is more linux like.
After downloading we will have the file wordpres-x.x.tar.gz in /home/UserName/Downloads
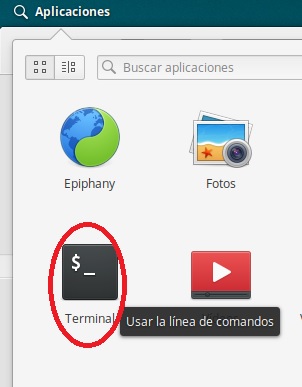
Now we open a terminal
from the terminal window we execute:
sudo tar -xf wordpres-x.x.tar.gz /opt/lampp/htdocs
In the path where we have unzipped the package, a directory called wordpress will be created.
We will change the owner of this directory and its content to our user, where UserName is the user we have logged in with the command
sudo chown -R UserName /opt/lampp/htdocs/wordpress/
We will give write permissions to the WordPress directory group. This is because WordPress needs to write configuration files, install plugins, upload content, update itself, etc.
sudo chmod -R g+w /opt/lampp/htdocs/wordpress/
We can see now the folder
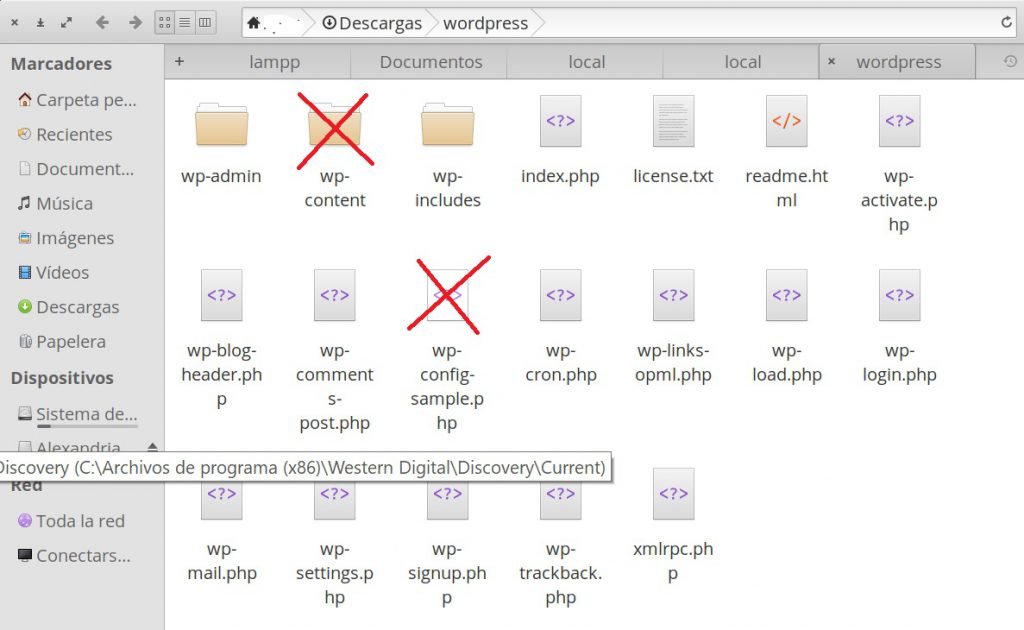
From the folders that we obtain we delete wp-content because we will not need it because we will keep the one we had that contains our current WordPress site.
rm -r /home/userName/downloads/wordpress/wp-content
We also delete the unzipped file wp-config-sample.php as we will keep the old one we had.
rm /home/userName/downloads/wordpress/wp-config-sample.php
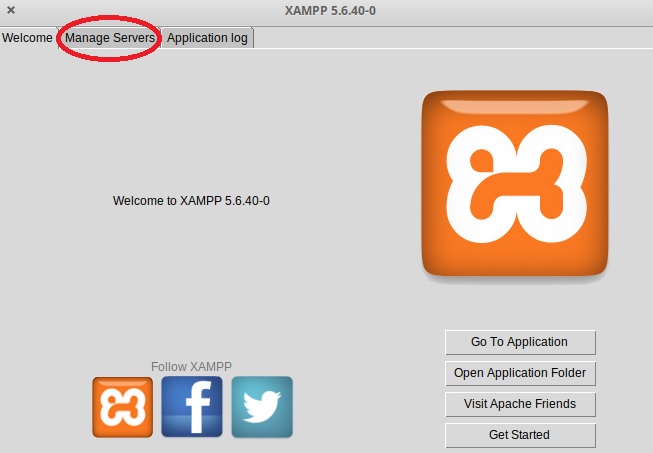
We stopped the Mysql and Apache services.
First we open Xampp Control Panel
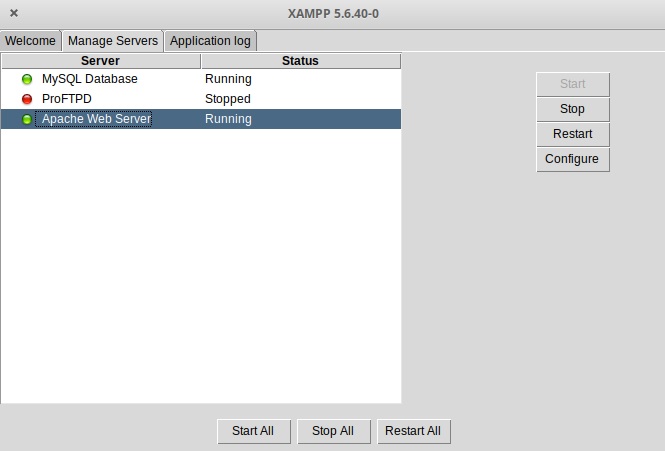
We select the Manage Servers tab
From here we stop MySQL Database and Apache Web Server
Now we go to our old WordPress and rename the wp-admin and wp-includes folders to wp-adminOld and wp-includesOld.
sudo mv /opt/lamp/httpdocs/wordpress/wp-admin /opt/lamp/httpdocs/wordpress/wp-adminOld
sudo mv /opt/lamp/httpdocs/wordpress/wp-includes /opt/lamp/httpdocs/wordpress/wp-includesOld
I do this not to delete them, because we won’t need them anymore, we can delete them when we see that everything works ok.
sudo rm -r /opt/lamp/htdocs/wordpress/wp-adminOld
sudo rm -r /opt/lamp/htdocs/wordpress/wp-includesOld
We copy the new folders wp-admin and wp-includes to /opt/lamp/wordpress
sudo mv /home/userName/downloads/wordpress/wp-admin /opt/lamp/htdocs/wordpress/wp-admin
sudo mv /home/userName/downloads/wordpress/wp-includes /opt/lamp/htdocs/wordpress/wp-includes
Now we copy all the files that we unzipped in the folder except wp-config-sample.php that we had deleted replacing the files of our old WordPress installation
sudo cp -r /home/userName/downloads/wordpress/* /opt/lamp/htdocs/wordpress
We start now MySQL Database and Apache Web Server.
Now we write in the navigation bar of our browser depending on the port we are using for http:
http://localhost/wordpress/wp-admin/upgrade.php or http://localhost:81/wordpress/wp-admin/upgrade.php
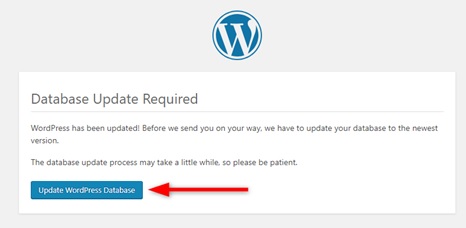
We click on Update wordpress database and the update is finished.
Now we write in the navigation bar of our browser depending on the port we are using for http:
http://localhost or http://localhost:81
and we already access our updated WordPress.
