
In this previous post we explain how to install Xampp on Elementary OS.
In this other previous one we learned how to open our server to the Internet
Now is time to install WorPress to manage our website in a simple and efficient way.
The first thing we will do is create the database that WordPress needs to work.
Before installing WordPress either a new installation or to migrate a WordPress installation to our web server, we need to create a new database.
Initially we will do a fresh installation, but at the end of this post we will explain how to make and restore WordPress backups.
Restoring the backup (no matter what operating system it resides on) is the procedure that will be used to migrate a previous WordPress installation to our new web server.
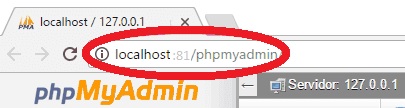
For that we are going to use phpMyAdmin, which is the tool that manages the MySQL databases from our Xampp server.
We write in the navigation bar of our browser
localhost:81/phpmyadmin
When accessing the phpMyAdmin database manager on the left side you will see the databases that are created by default on the server.
We click on New.
In the right part we write the name of the database, for example wordpress (*) and we choose the option utf8_general_ci.
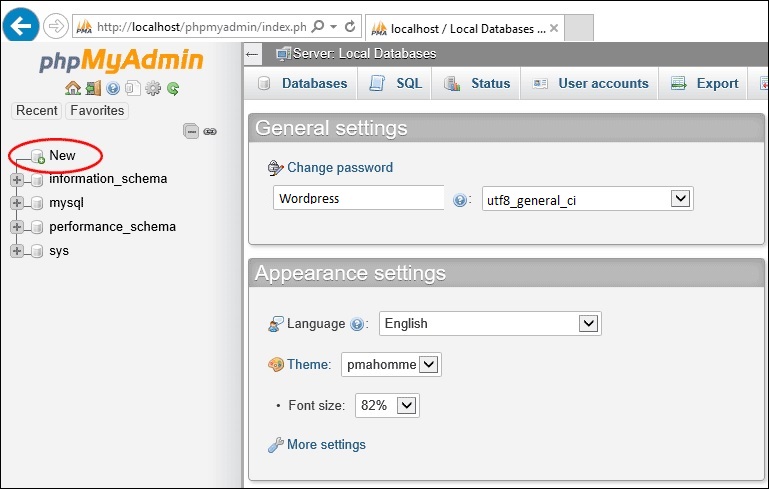
We click on the Create button.
(*) If we are going to migrate a previous installation, we will give it the same name that the database had in the previous installation.
Now in the section on the left you will have your new database created.
This will be the database that WordPress will use.
The user to manage it is root, which is the main user that MySQL creates, and by default the root user does not have any password.
Once we have the new database created to install WordPress, the first thing we have to do is download the .zip file with the latest version of WordPress from the official WordPress page.
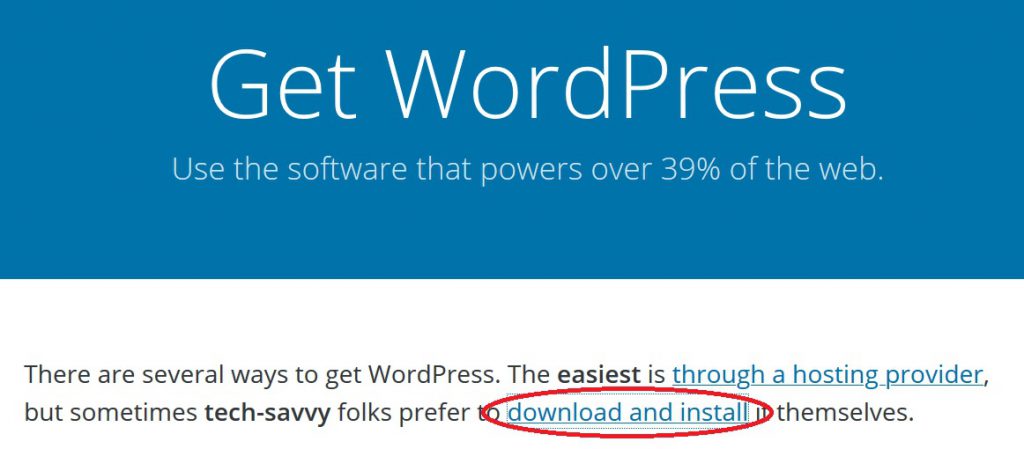
We choose download and install to download it.
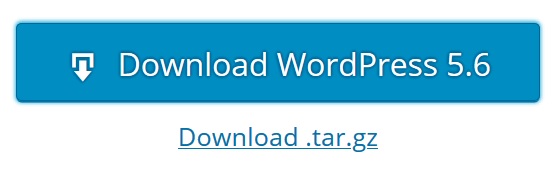
If we click on Download WordPress xx we download the compressed version in zip format, if we click on Download.tar.gz we download the compressed version in tar.gz format, either of the two is valid for all operating systems, in this post we will do it with Download.tar.gz which is more linux like.
After downloading we will have the file wordpres-x.x.tar.gz in /home/UserName/Downloads
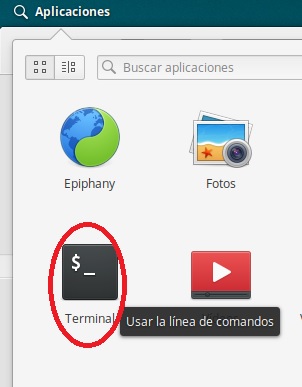
Now we open a terminal
from the terminal window we execute:
sudo tar -xf wordpres-x.x.tar.gz /opt/lampp/htdocs
In the path where we have unzipped the package, a directory called wordpress will be created.
We will change the owner of this directory and its content to our user, where UserName is the user we have logged in with the command
sudo chown -R UserName /opt/lampp/htdocs/wordpress/
We will give write permissions to the WordPress directory group. This is because WordPress needs to write configuration files, install plugins, upload content, update itself, etc.
sudo chmod -R g+w /opt/lampp/htdocs/wordpress/
Now we write in the navigation bar of our browser
http://localhost:81/wordpress/
«wordpress» is the folder that we just created.
That will automatically take you to the welcome screen to begin the installation and configuration of WordPress.
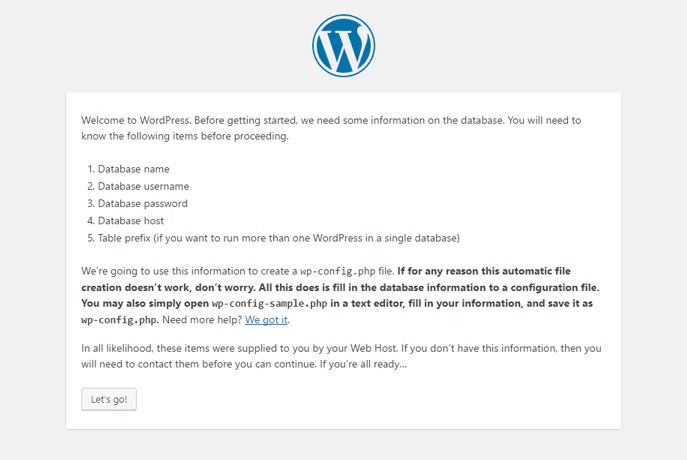
We click let’s go!
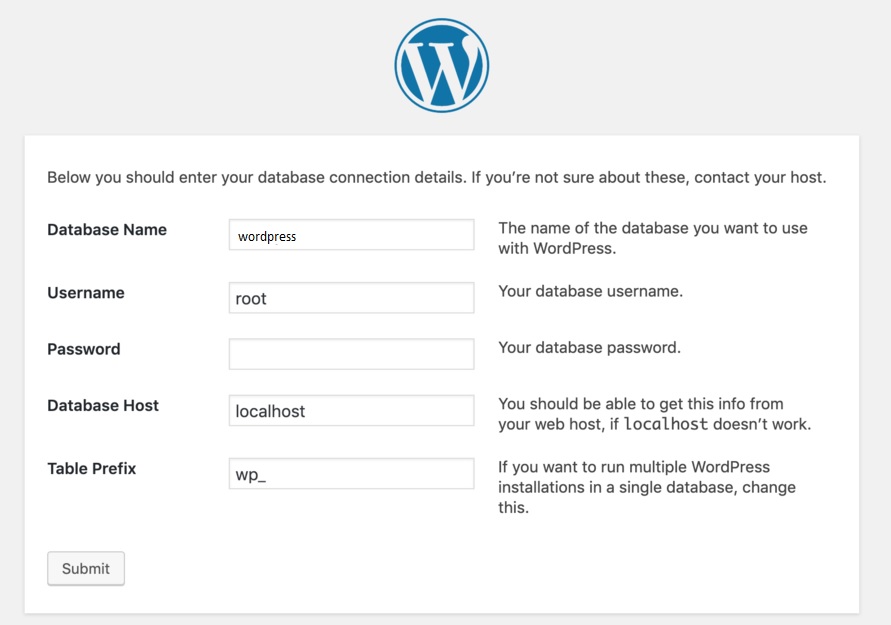
click submit

Click on the Run the install button.
Here you have to fill in the data for the WordPress installation, such as the title of your new site, the name of the user you want to create to manage it, your password, email.
You can select the option Discourage search engines from indexing this site if you want, but then your WordPress will be ignored by Google and other search engines, (not recommended).
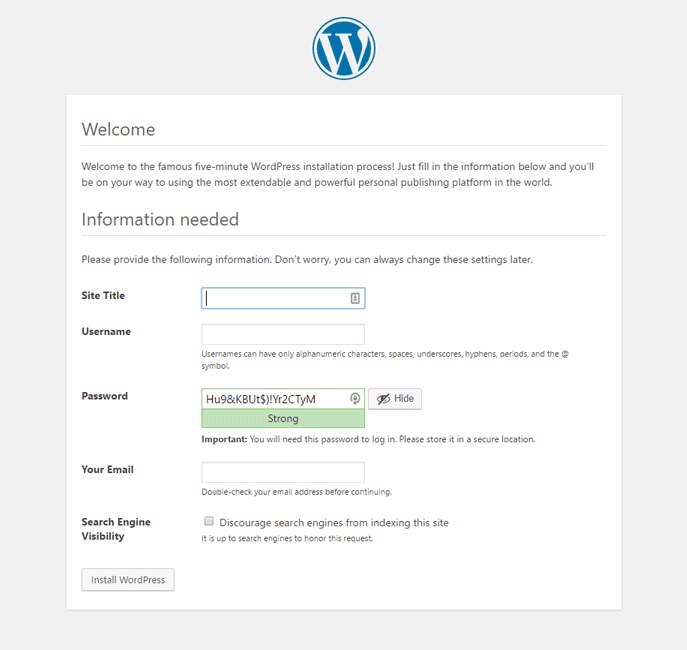
Then click Install WordPress.
If everything has gone well you will see a message like this in which it tells you that WordPress has been installed correctly.
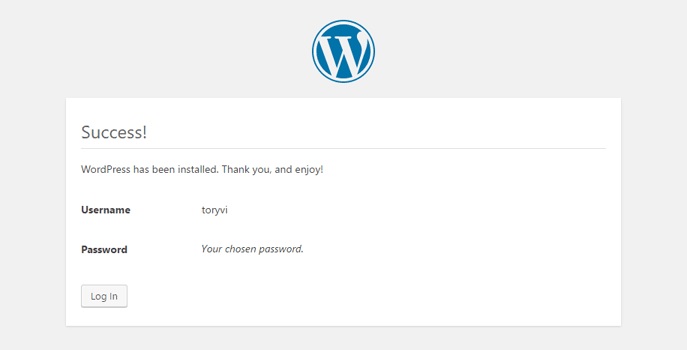
Now you can click the Login button to go to the login window of your WordPress.
Use the username and password you chose earlier. Click the Login button and you will enter your new WordPress dashboard.

From the desktop you can create your website.
And typing in the navigation bar of our browser
http://localhost: 81/wordpress/
you will see how your site looks like.
If you installed your web server following the post Installing a web server at home with Xampp and Elementary OS and you opened it to the internet following the post Openning our home Xampp web server to the internet anyone who types in the navigation bar of their browser http://HomeServer.ddns.net/wordpress will access to your brand new website.
( Important: In order you can access to your WordPress site typing in the navigation bar of our browser http://HomeServer.ddns.net/wordpress , you should previously go to http://localhost:81/wordpress/wp-admin and then to Settings, General Settings and type as WordPress address (URL) and Site address (URL) http://HomeServer.ddns.net:81/wordpress ).
Finally, if we want WordPress to be the main home page of your site and that when anyone who writes in the navigation bar of their browser http://HomeServer.ddns.net (or the name that yow have given to your site) or localhost:81 from the Xampp server locally will access to your WordPress site directly.
We will open a terminal and type in the command line:
sudo io.elementary.code /opt/lampp/htdocs/index.php
The editor code will then be opened as superuser and in the index.php file we will change dashboard to wordpress and save
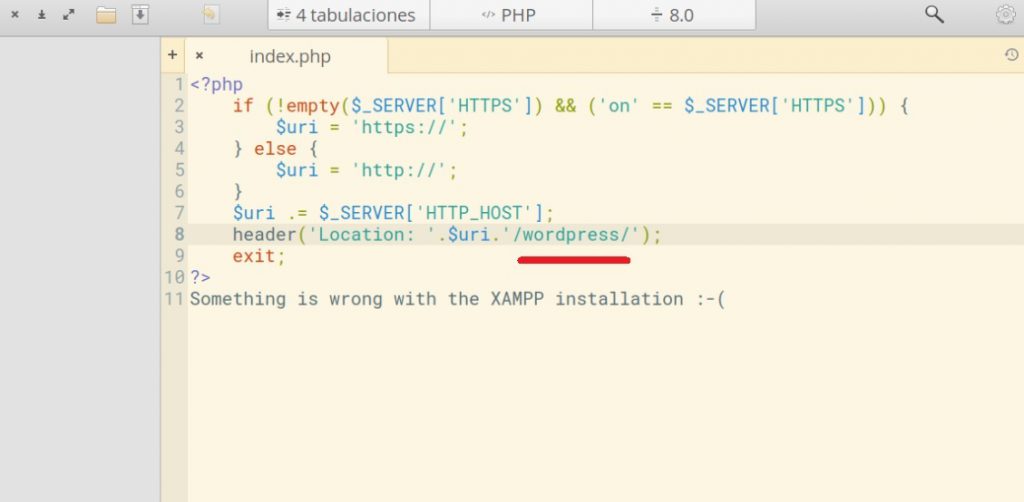
WordPress is already the main home page of our site.
Finally I will explain how to make and restore WordPress backups.
Remember that restoring the backup (no matter what operating system it resides on) is the procedure that will be used to migrate a previous WordPress installation to our web server.
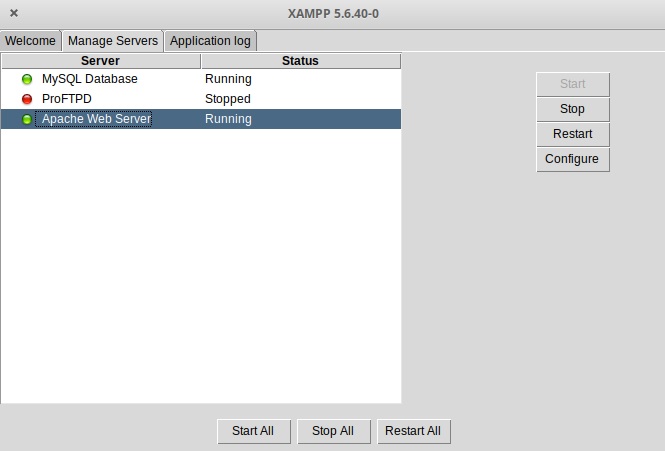
To make the backup in the Xammp control panel we will stop Apache Web Server but we will not stop MySql Database.
We will copy the complete wordpress directory to the place where we are going to make the backup, for example, we open a terminal window and type
sudo cp -r /opt/lampp/htdocs/wordpress /opt/lampp/htdocs/wordpresscopy
We already have in /opt/lampp/htdocs/wordpresscopy the backup of the WordPress files
Now we will make the backup of the database
We open a terminal window and execute the following two commands:
cd /opt/lampp/bin
sudo ./mysqldump –user=root –password= passwordMySqlAdmin wordpress > backup.sql
Instead of passwordMySqlAdmin we will write the password of MySql root user, if root user do not have a password we will not write anything.
The backup.sql file will contain the backup of the database.
To restore the backup we will again stop Apache but we will not stop MySql.
Then we will delete the entire wordpress directory and copy the backup we made to /opt/lampp/htdocs/wordpress
For example opening a terminal window and typing
sudo rm -r /opt/lampp/htdocs/wordpress
sudo cp -r /opt/lampp/htdocs/wordpresscopy /opt/lampp/htdocs/wordpress
To restore the database (Previously, if the database does not exist, we will create it as we saw at the beginning of this post, we type in our browser localhost: 81/phpmyadmin … and we create it) and then from the terminal window we type
cd /opt/lampp/bin
sudo ./mysql –user=root –password= passwordMySqlAdmin wordpress < backup.sql
We have already restored the wordpress database, we only have to start Apache in the Xammp control panel.
If instead of Linux the operating sistem we are using is windows the commands for backup and restore are:
Backup
cd C:\xampp\mysql\bin
mysqldump –user=root –password= passwordMySqlAdmin wordpress > c:\ backup.sql
Restore
cd C:\xampp\mysql\bin
mysql –user=root –password= passwordMySqlAdmin < c:\backup.sql
Very good article. I am going through some oof these issues as well.. http://Boyarka-Inform.com/